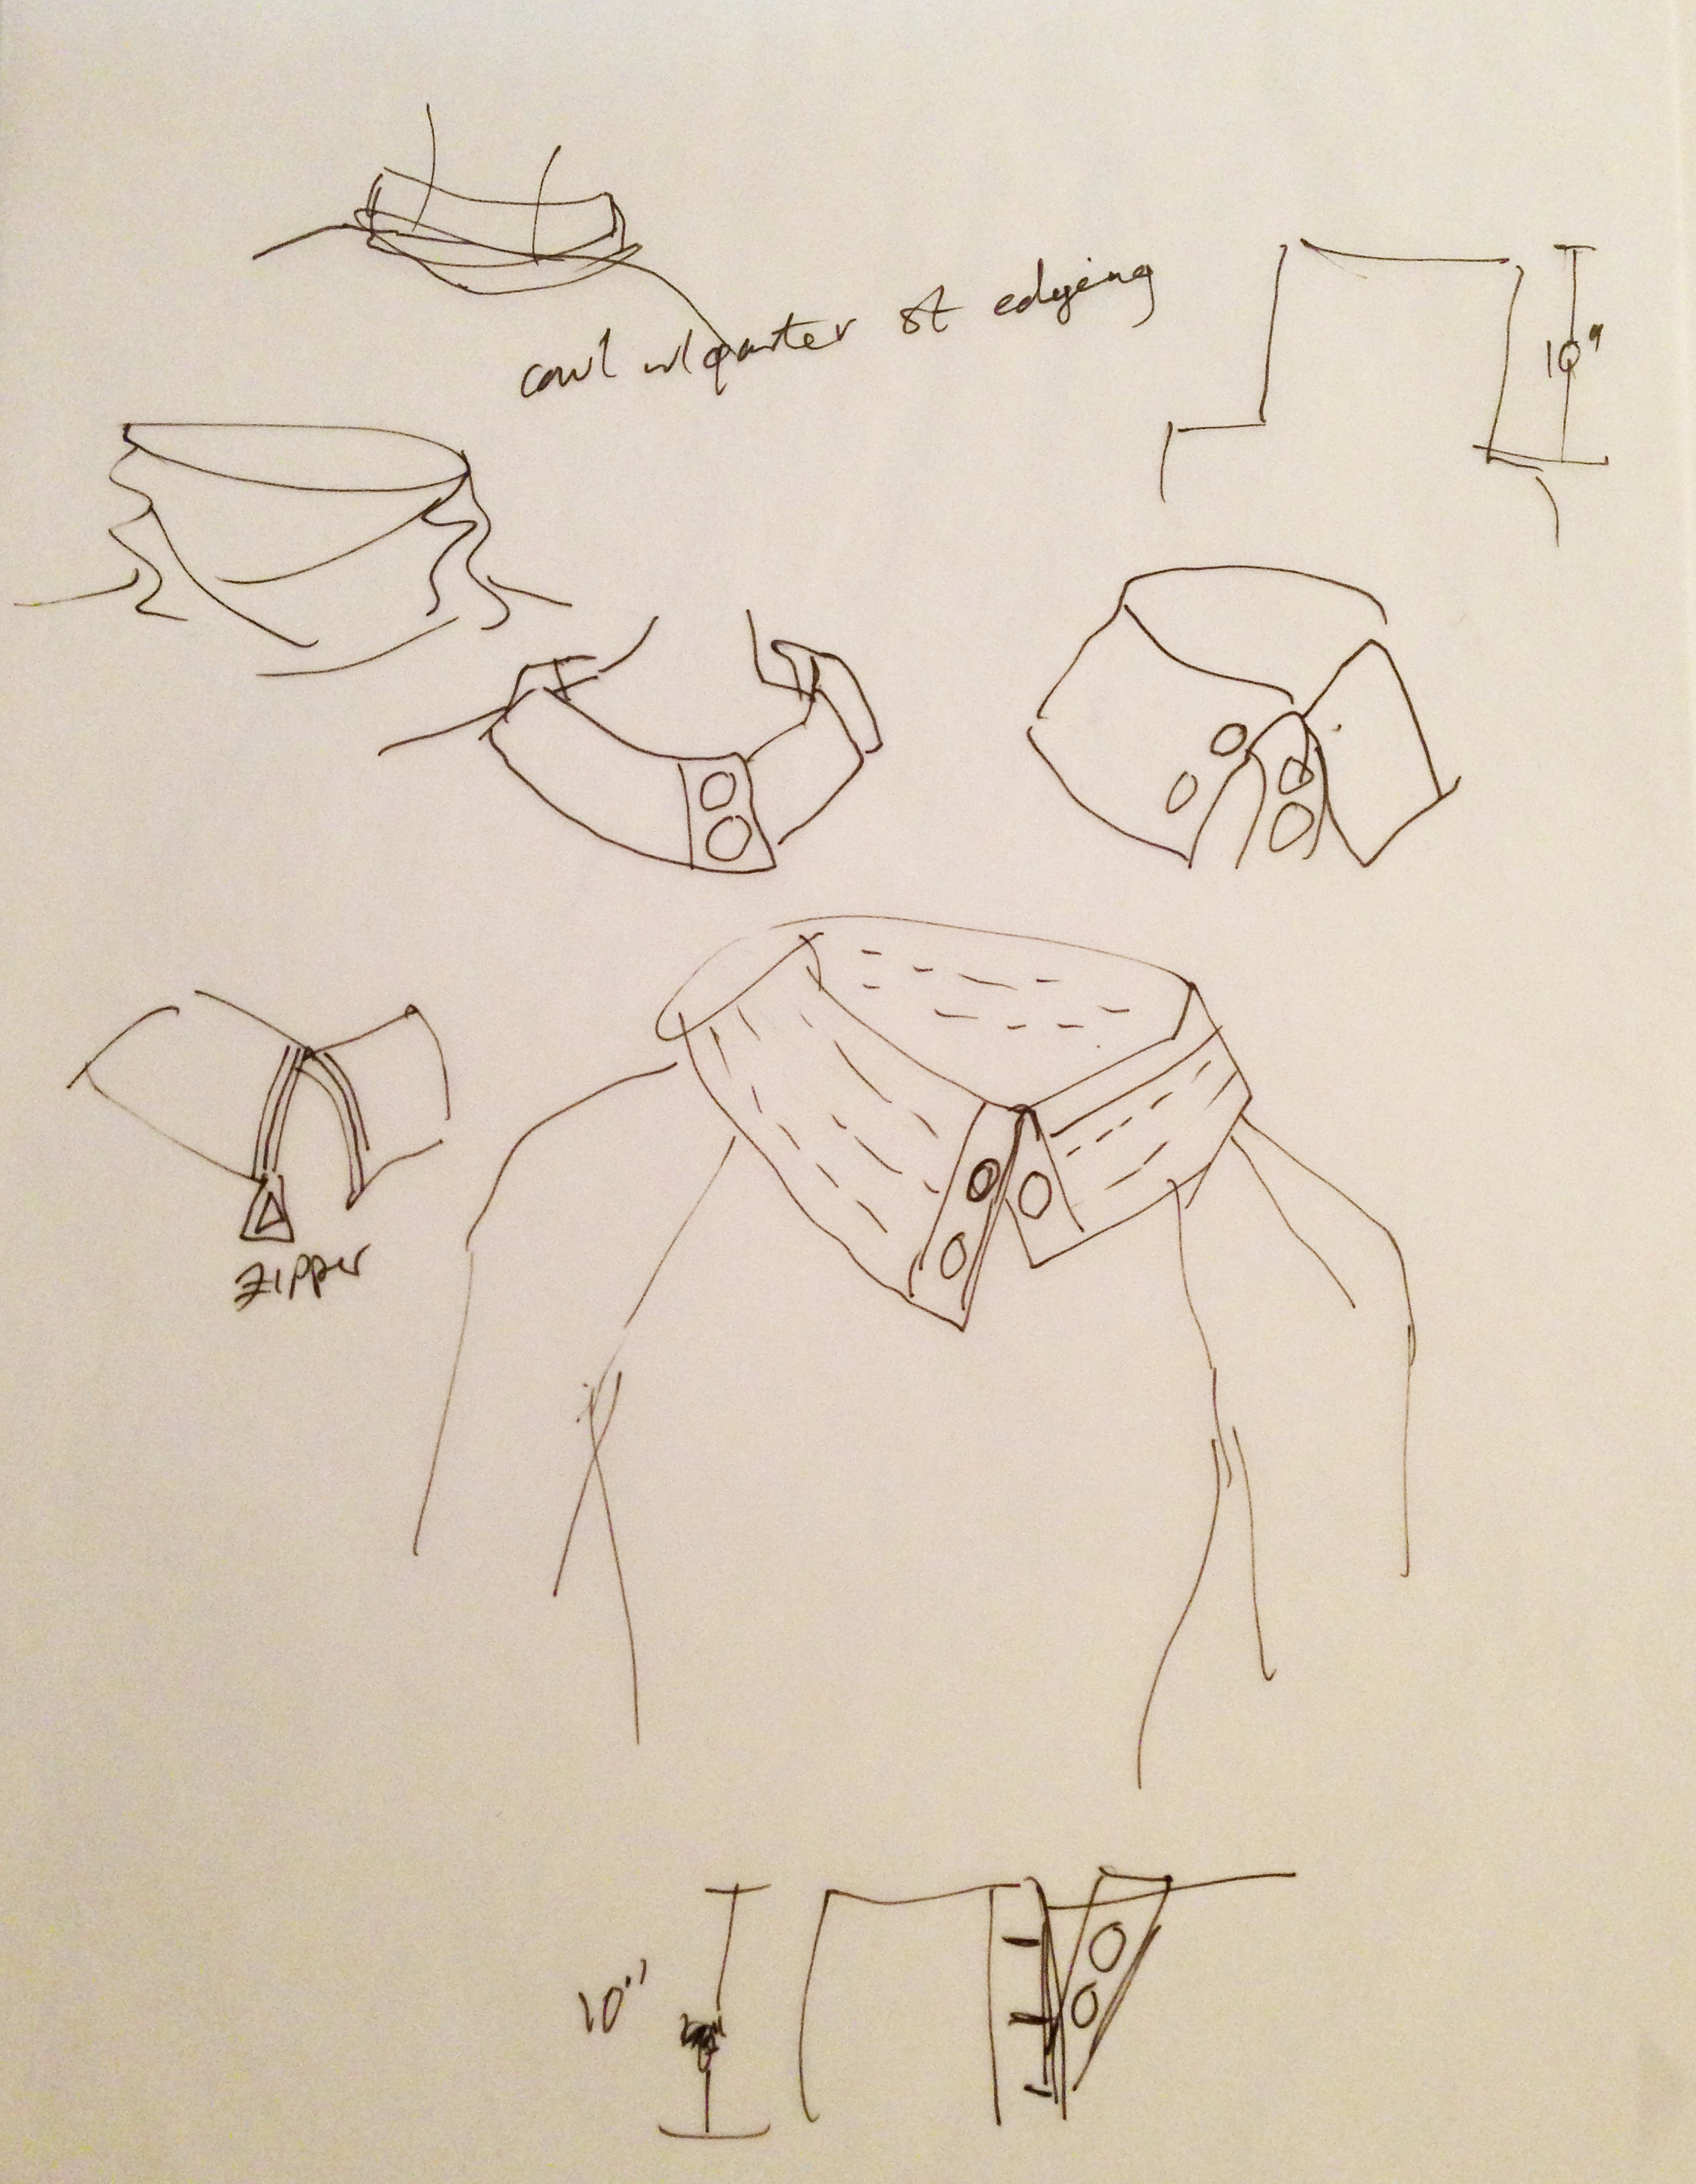
Thinking out loud in my sketchbook for the Edinburgh Mittens.

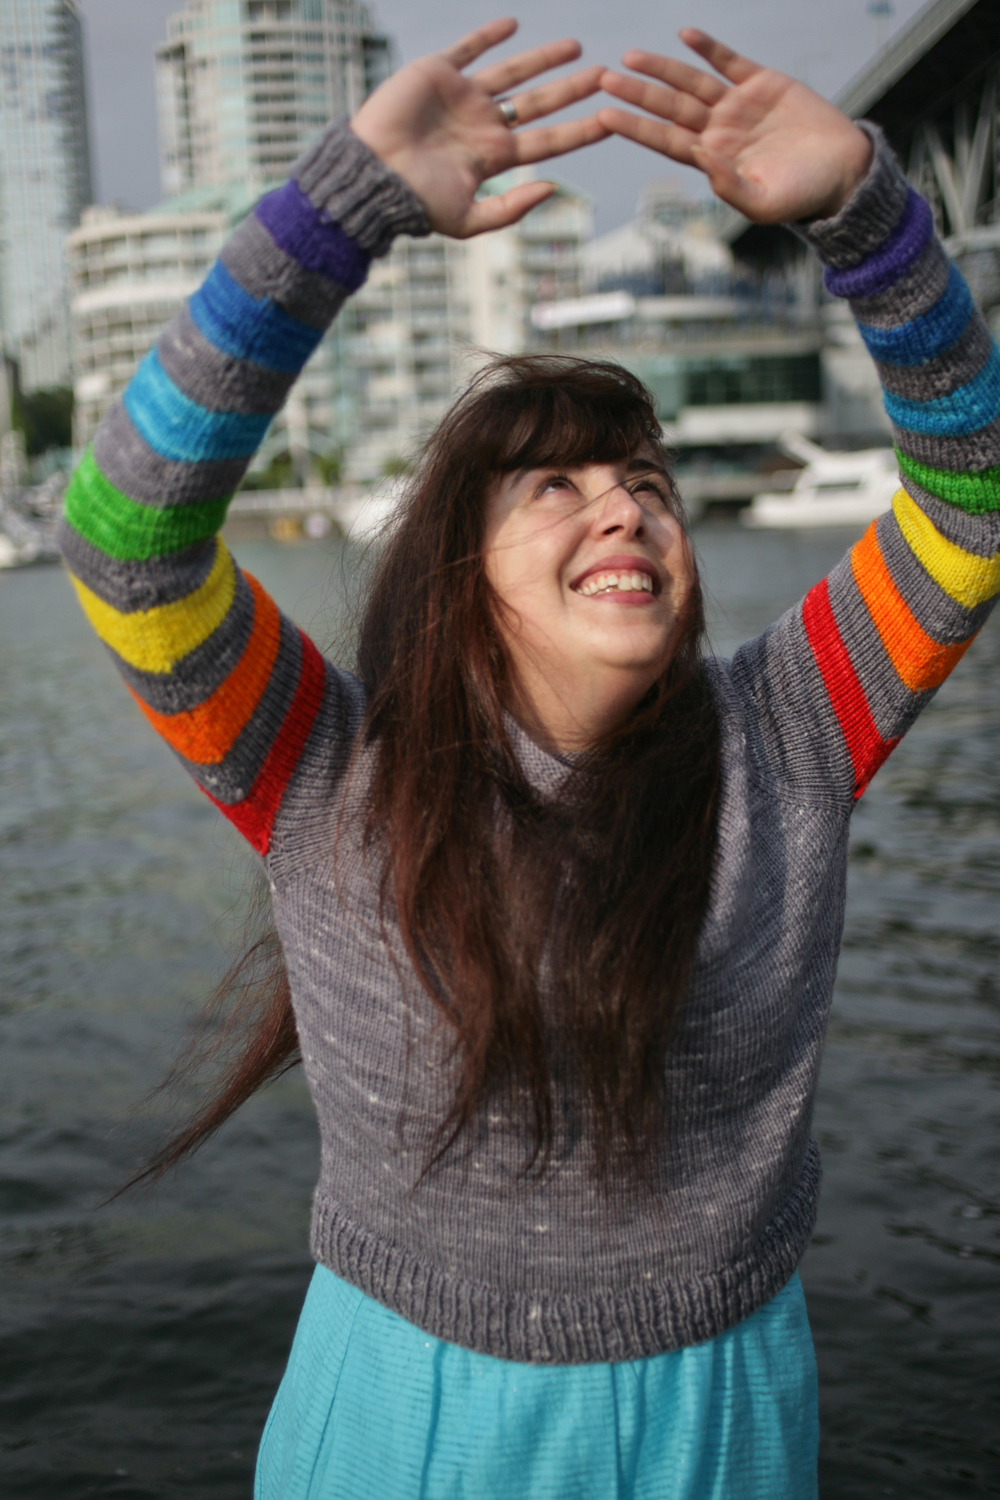
Result: Edinburgh Mittens.
My sketchbook is my brain… well, almost. With each design I create, I usually have a series of pages on how that design evolved. Often there are measurements and numbers, as in my photos for the Edinburgh Mittens and skirt. But there are always illustrations of the design, with variations here and there.

Not quite knitting, but same process for designing items for sewing too. Sketches and measurements everywhere.
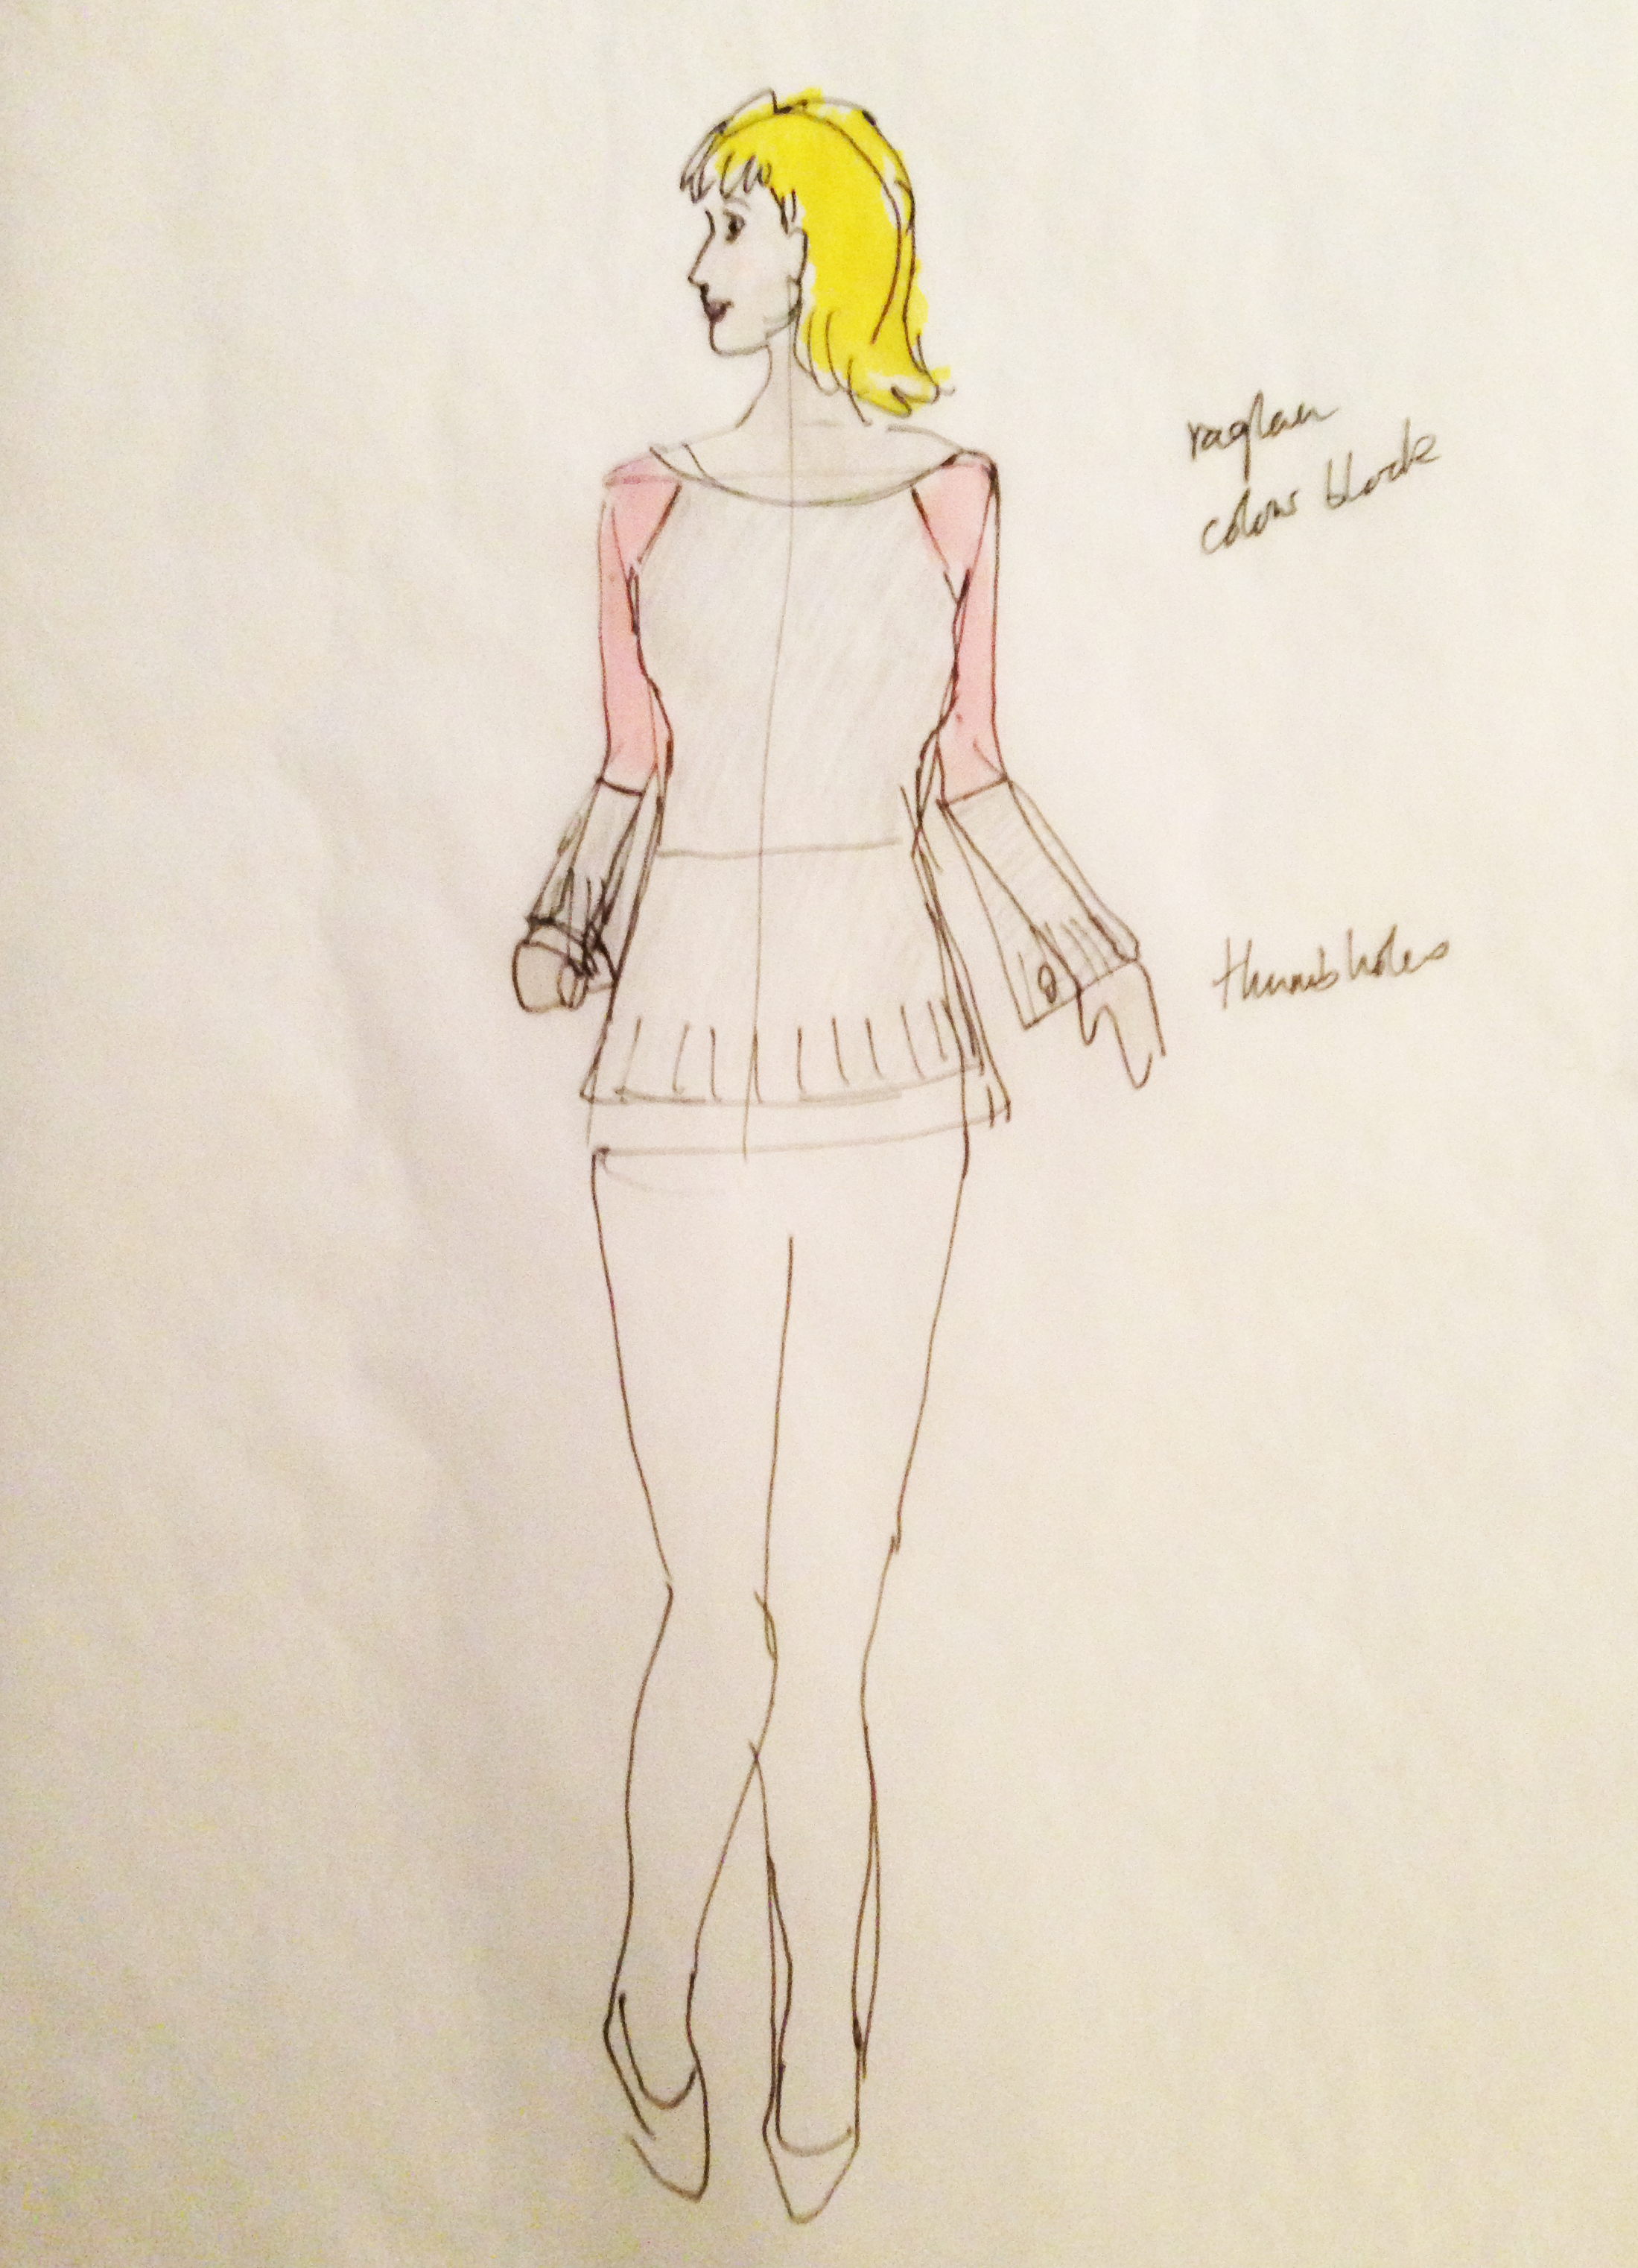
Take for example a simple pullover. There’s so many questions that need to be answered in the sketch. How long is it? Where do the sleeves ends? What kind of neckline? And most importantly, where do I see this sitting on the body? So, most of the designs I have usually are based on simple croquis drawings to show how the garment fits and hangs on the body.

A croquis illustration.
Now wait a second. What’s a croquis, you might be asking? A croquis is basically a quick illustration, typically a line drawing, of a real human figure. Usually these illustrations are made in a couple minutes, tops. Often enough, the same croquis outline is used to show a range of variations of the outfit or a series of outfits. You can even draw a croquis custom to your body or a model’s body to reflect the proportions of the garment.

Searching for the right collar.
Once I’ve done a few runs at the croquis, I usually have a series of other sketches where I’m working out details, like finding the right collar shape for a pullover garment.
So how do you make a croquis to use as your base for illustration? Yes, you can find them already made online if you want to skip this step altogether. But there are many benefits to making your own croquis. You can find your starting point by using either an existing photo showing your body or even a photograph of a figure from a fashion magazine.
Here’s a list of supplies that you need to make your own croquis and fashion drawings:
- photograph / fashion photograph
- tracing paper
- ruler
- pencil
- black ink pen
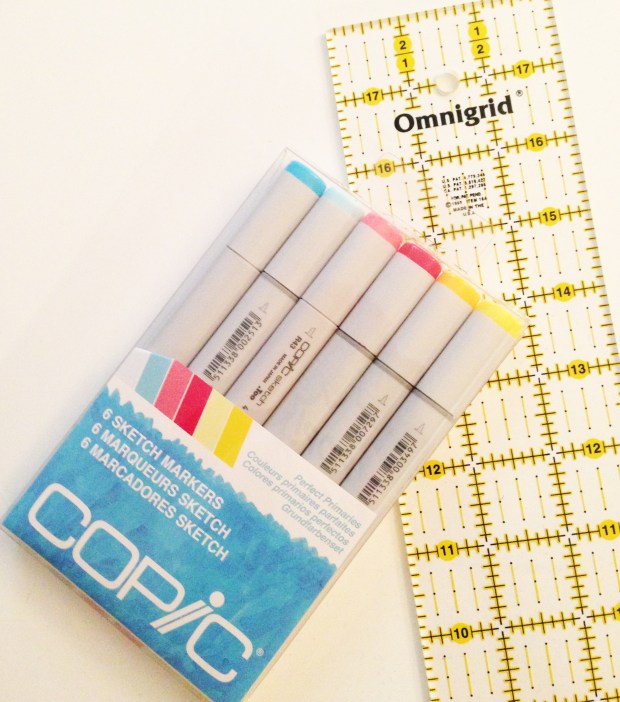
- coloured markers (I like Copic)

My original croquis. The numbers are head lengths and widths.
Place a sheet of tracing paper over the illustration and using your pen or pencil, trace the outline of the figure. It doesn’t need to be perfect, just a reasonable approximation. Draw a line across at the shoulders, bust, waist, hips, knees and ankles. You’re already starting to see some of the body proportions. Connect on the side the distance between the shoulder and waist, and then waist and hip, creating boxes like the shown croquis. Then, measure the the head height on a piece of paper, and use this to measure the total length of the figure, which should be around 7 heads high. You can also draw a vertical line through the core of the body, showing the midpoint. There’s a very handy video tutorial that’s about 10 minutes showing you in detail how to do this here.
Taking a second piece of tracing paper, trace the outline of the figure as your base. You can add as many notations from the base croquis that you’d like. For instance, you can show the waist line or centre line. Then start drawing your garment over the figure, taking care to accurately show where your garment begins and ends and how you would like it to hang. Again, this isn’t a a perfect drawing, rather a quick drawing to help you design your garment.

Then comes my favourite part, adding colour to the illustration, which really brings the drawing to life as you can see here. My pullover design (coming out very soon) shows the colour blocking, sleeve length and more. It’s really a handy reference for me.

My custom sizing chart in inches as based on Craft Yarn Council standards and British standards as adapted by designer Ysolda Teague.
When I use my illustration combined with the Craft Yarn Council’s body standards sizing charts, things start really happening. I can then begin to consider actual measurements in relation to my drawing. Basically, knitwear design comes down to a lot of measurements, which brings me to Excel, which really is a whole other post about knitwear pattern grading to make different sizes. I’ll save that for another time!
Are you going to make some of your own drawings now?
x Rena